System
Configuring User Email Settings
System Location: Settings > System > User Maintenance
This topic provides an example on how to configure a user's settings to allow reports and forms to be Emailed from within JobBOSS2.
For more information see User Maintenance.
If you are required to maintain a Whitelist for Email, see Email Server IP Addresses for Whitelisting
To configure user email settings, use the following steps:
- Click the Settings button.

- Open the System dropdown menu.
- Select User Maintenance.
- Select the desired user from the grid and click Edit (located at the top of the page.)
- Use the search options provided if the user is not already displayed in the grid.
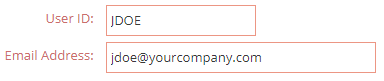
- Verify the Email Address entered in the Credentials Section of the User Account.
- Go to the Email Section of the User Account.
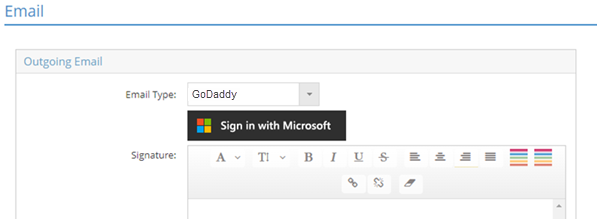
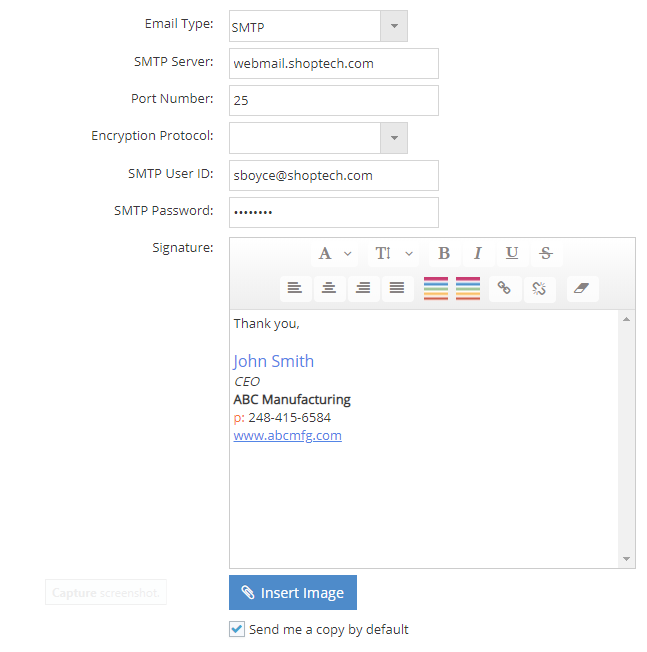
- In the Outgoing Email box, verify or enter the following settings:
- Email Type - Choose SMTP, Google or Microsoft 365. (For additional information, click on the applicable link.)
- Signature - Enter a personal signature that will display on all emails you send from JobBOSS2. Images may be included using the Insert Image button below the signature field.
- Determine whether a receipt of the Email should be sent to the user's inbox or not.
- Place a check in the Send me a copy by default setting to have JobBOSS2 send a receipt of the Email to the user. The receipt will include the date and time the Email was sent, the document(s) attached, and recipient of the document.
- This option is blank by default.
- Click OK to save the settings and close the User Account.
This will be referred to as the "user's Email address" for the remainder of this topic.
-
SMTP Server - Use this field to identify the SMTP server used to send Emails for your business.
-
Port Number - Enter the port number used on the server for outbound Emails.
-
Encryption Protocol- Select the appropriate encryption protocol option from the dropdown menu provided. Select None if your Email server / host does not require encrypted connections; otherwise select SSL/TLS.
- SMTP User ID - Enter the user ID associated with the Email address provided in the General Section.
-
SMTP Password - Enter the password associated with the Email address provided in the General Section.
Note: This feature is only available for hosted JobBOSS2customers. Users must have a Gmail account listed in the Credentials section to use this feature.
-
Click the Sign in with Google button.
-
Enter the Gmail address and then password in the Sign in boxes and then click Next.
-
Another sign-in window opens, prompting consent for JobBOSS2 to access the Google account. Click on the Learn More link showing the number of services to which JobBOSS2 has access. Click Done and then click Continue.
-
Click the Save button to confirm the changes.
Microsoft Office 365 OAuth2 Email Type
-
Click the Sign in with Microsoft button.
-
Enter the Microsoft email address, phone number or Skype ID.
- Enter the password and then click Sign in.
-
Another sign-in window opens, prompting consent for JobBOSS2 to access the Microsoft account.
- Click Yes to allow JobBOSS2 to access data, read your profile and send email as you.
-
The email address is then automatically populated in JobBOSS2.
- Click the Sign in with Microsoft button:
- The GoDaddy page with the Microsoft login module opens. Enter the email and password for the Microsoft email account.
- Click Yes to allow access permission to the account.