Syncing Vendors and Customers with Commerce Suite
Use the following steps to synchronize your vendors and customers between JobBOSS2 and Commerce Suite by using Integration Utilities. Before syncing, users must be granted the appropriate security permissions.
Prerequisites: User Security Setup
Access to the Integration Utilities requires new security settings for the user. To enable security permissions:
-
In JobBOSS2, go to Settings > System > User Maintenance.
-
Select the user and then click the Edit button.
-
In the Company List section heading, click the Security button.
-
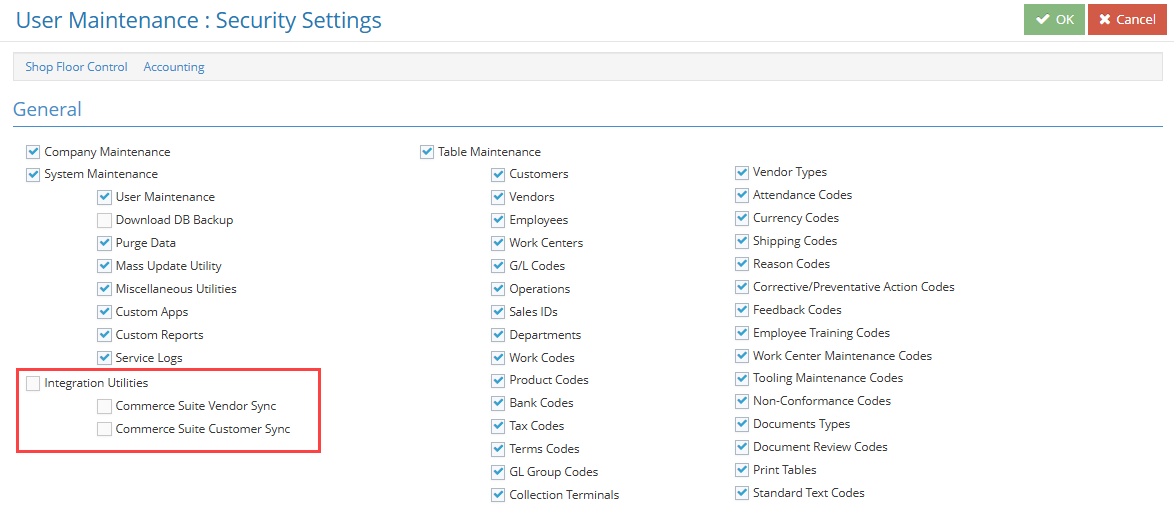
Under the General section, locate Integration Utilities:
-
Enable the following check boxes as needed:
-
Integration Utilities
-
Commerce Suite Vendor Sync
-
Commerce Suite Customer Sync
-
-
Click OK to save the user record.
Accessing Integration Utilities to Sync Vendors & Customers
To access the Integration Utilities:
-
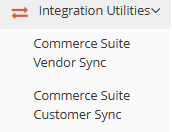
Go to Settings > System > Integration Utilities:
-
Select one of the following:
-
Commerce Suite Vendor Sync
-
Commerce Suite Customer Sync
-
Syncing Vendors to Commerce Suite
-
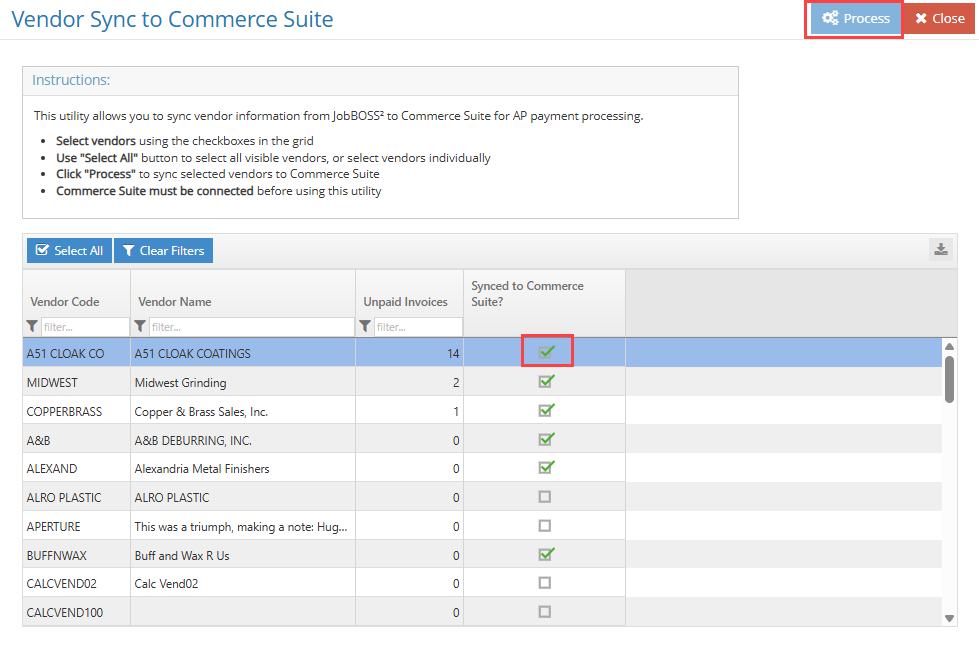
Select Commerce Suite Vendor Sync. A grid populated with active customers opens.
Note: Only US Vendors will sync to Commerce Suite.
-
Review and filter vendors:
-
Use filters to locate specific vendors.
-
Use Clear Filters button to reset the grid.
-
Hold Ctrl to select multiple vendors or select all as needed to sync.
-
Click the Process button.
Review the sync results:
-
The system will display confirmation of:
Successful vendor syncs
Any errors that occurred
-
A green check mark indicates the vendor has been successfully synced to Commerce Suite.
Sync Status Indicators
-
Green check mark: Record successfully synced to Commerce Suite.
-
No check mark: Record has not yet been synced.
Syncing Customers to Commerce Suite
-
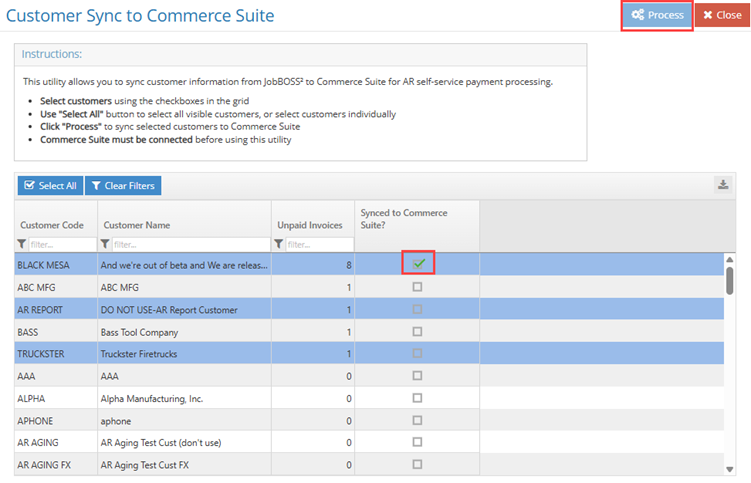
Select Commerce Suite Customer Sync. A grid populated with active customers opens.
Note: Only US Vendors will sync to Commerce Suite.
-
Review and filter customers:
-
Use filters to locate specific customers.
-
Use Clear Filters button to reset the grid.
-
Hold Ctrl to select multiple customers or select all as needed to sync.
-
Click the Process button.
-
Review the sync results:
-
The system will display confirmation of:
-
Successful customer syncs
-
Any errors that occurred
-
A green check mark indicates the customer has been successfully synced to Commerce Suite.
-
Verifying/Starting JobBOSS2 Services for Commerce Suite
For Commerce Suite to work correctly, JobBOSS2 Services must be running. If the services are stopped, Commerce Suite functionality may not work as expected.
Use these steps if:
-
Commerce Suite features are not working, or
-
You want to confirm JobBOSS2 Services are running.
To check or start JobBOSS2 Services:
-
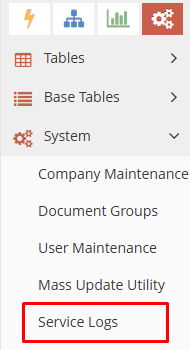
In JobBOSS2, navigate to: Settings > System > Service Logs:
-
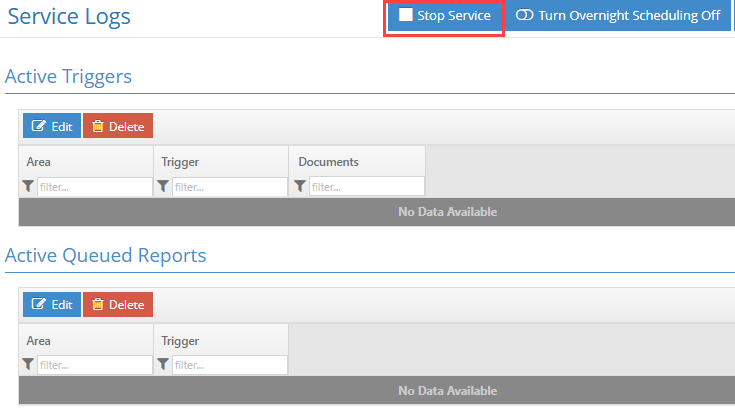
Look at the button in the top middle of the screen:
-
If you see Stop Service, then the services are currently running:
-
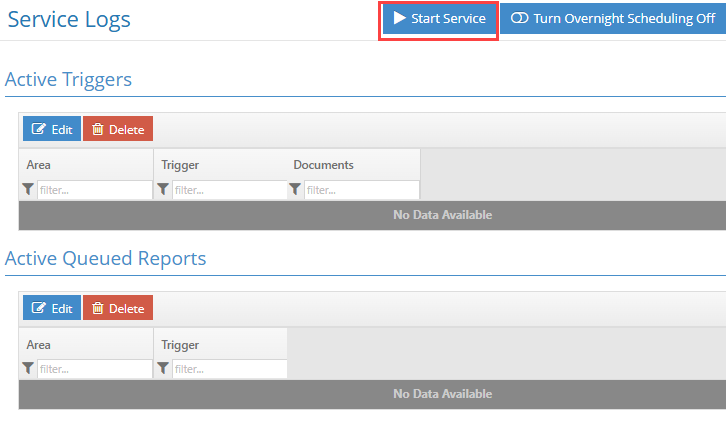
If you see Start Service, then the services are currently not running:
-
-
If services are not running, click Start Service.
-
After starting the service, click Close to leave the screen.